A generator is the power behind your business, so you need to install it properly to keep it running for the long haul. Generator installation may not be as simple as you’d expect — it involves quite a few steps. Next, UsuperPower will walk you through what to pay attention to before, during, and after installation.
What to Consider Before the Generator Arrives
Confirm the Generator’s Specifications
Before the generator is delivered, we’ll provide you with a spec sheet. Please pay special attention to the following parameters
: rated power, frequency, voltage, current, number of phases, generator dimensions, fuel consumption, weight, as well as the exhaust outlet size and electrical connection method. Check that these match your requirements.
Prepare the Installation Site
Before the generator arrives, you need to complete the site preparation work. A well-prepared site avoids installation delays and ensures the generator can run safely and be maintained efficiently.
Before it arrives, please confirm the following:
Indoor vs. Outdoor Installation: decide whether the generator will be installed outdoors or in a dedicated generator room
Generator Room Preparation: if you choose to install the generator inside a generator room, first make sure the room has enough space for the intake/exhaust system, electrical connections, and maintenance access.
Access Route: confirm that trucks, cranes, forklifts, and other lifting equipment can reach the installation location. Doorways, ramps, and other access points should be large enough for the generator to pass through smoothly.
Foundation: prepare a level, solid foundation to keep the generator stable during operation. We recommend a concrete foundation.
Ventilation: make sure the generator room has enough air intake and a proper path for hot air to exhaust, especially for liquid-cooled generators with an engine-mounted radiator.
Exhaust Routing: plan the exhaust piping route in advance, including the silencer location, pipe supports, insulation, and the outdoor exhaust outlet position.
Fuel Tank: if you’re using a base-mounted fuel tank, you only need to account for the overall footprint of the genset. If you’re using an external fuel tank, you’ll need to plan where it goes and how it connects to the generator.
Cable Routing: determine how the power and control cables will be routed from the generator to the automatic transfer switch (ATS), switchgear, or main distribution panel.
Maintenance Clearance: leave enough clearance around the generator so technicians can inspect, maintain, and replace parts after installation.
This article will mainly focus on installing a generator inside a generator room.
Check That the Delivery and Lifting Routes Are Clear
Check the Truck Route: check that the route is clear and leaves enough room for the generator, the truck, and the unloading crew.
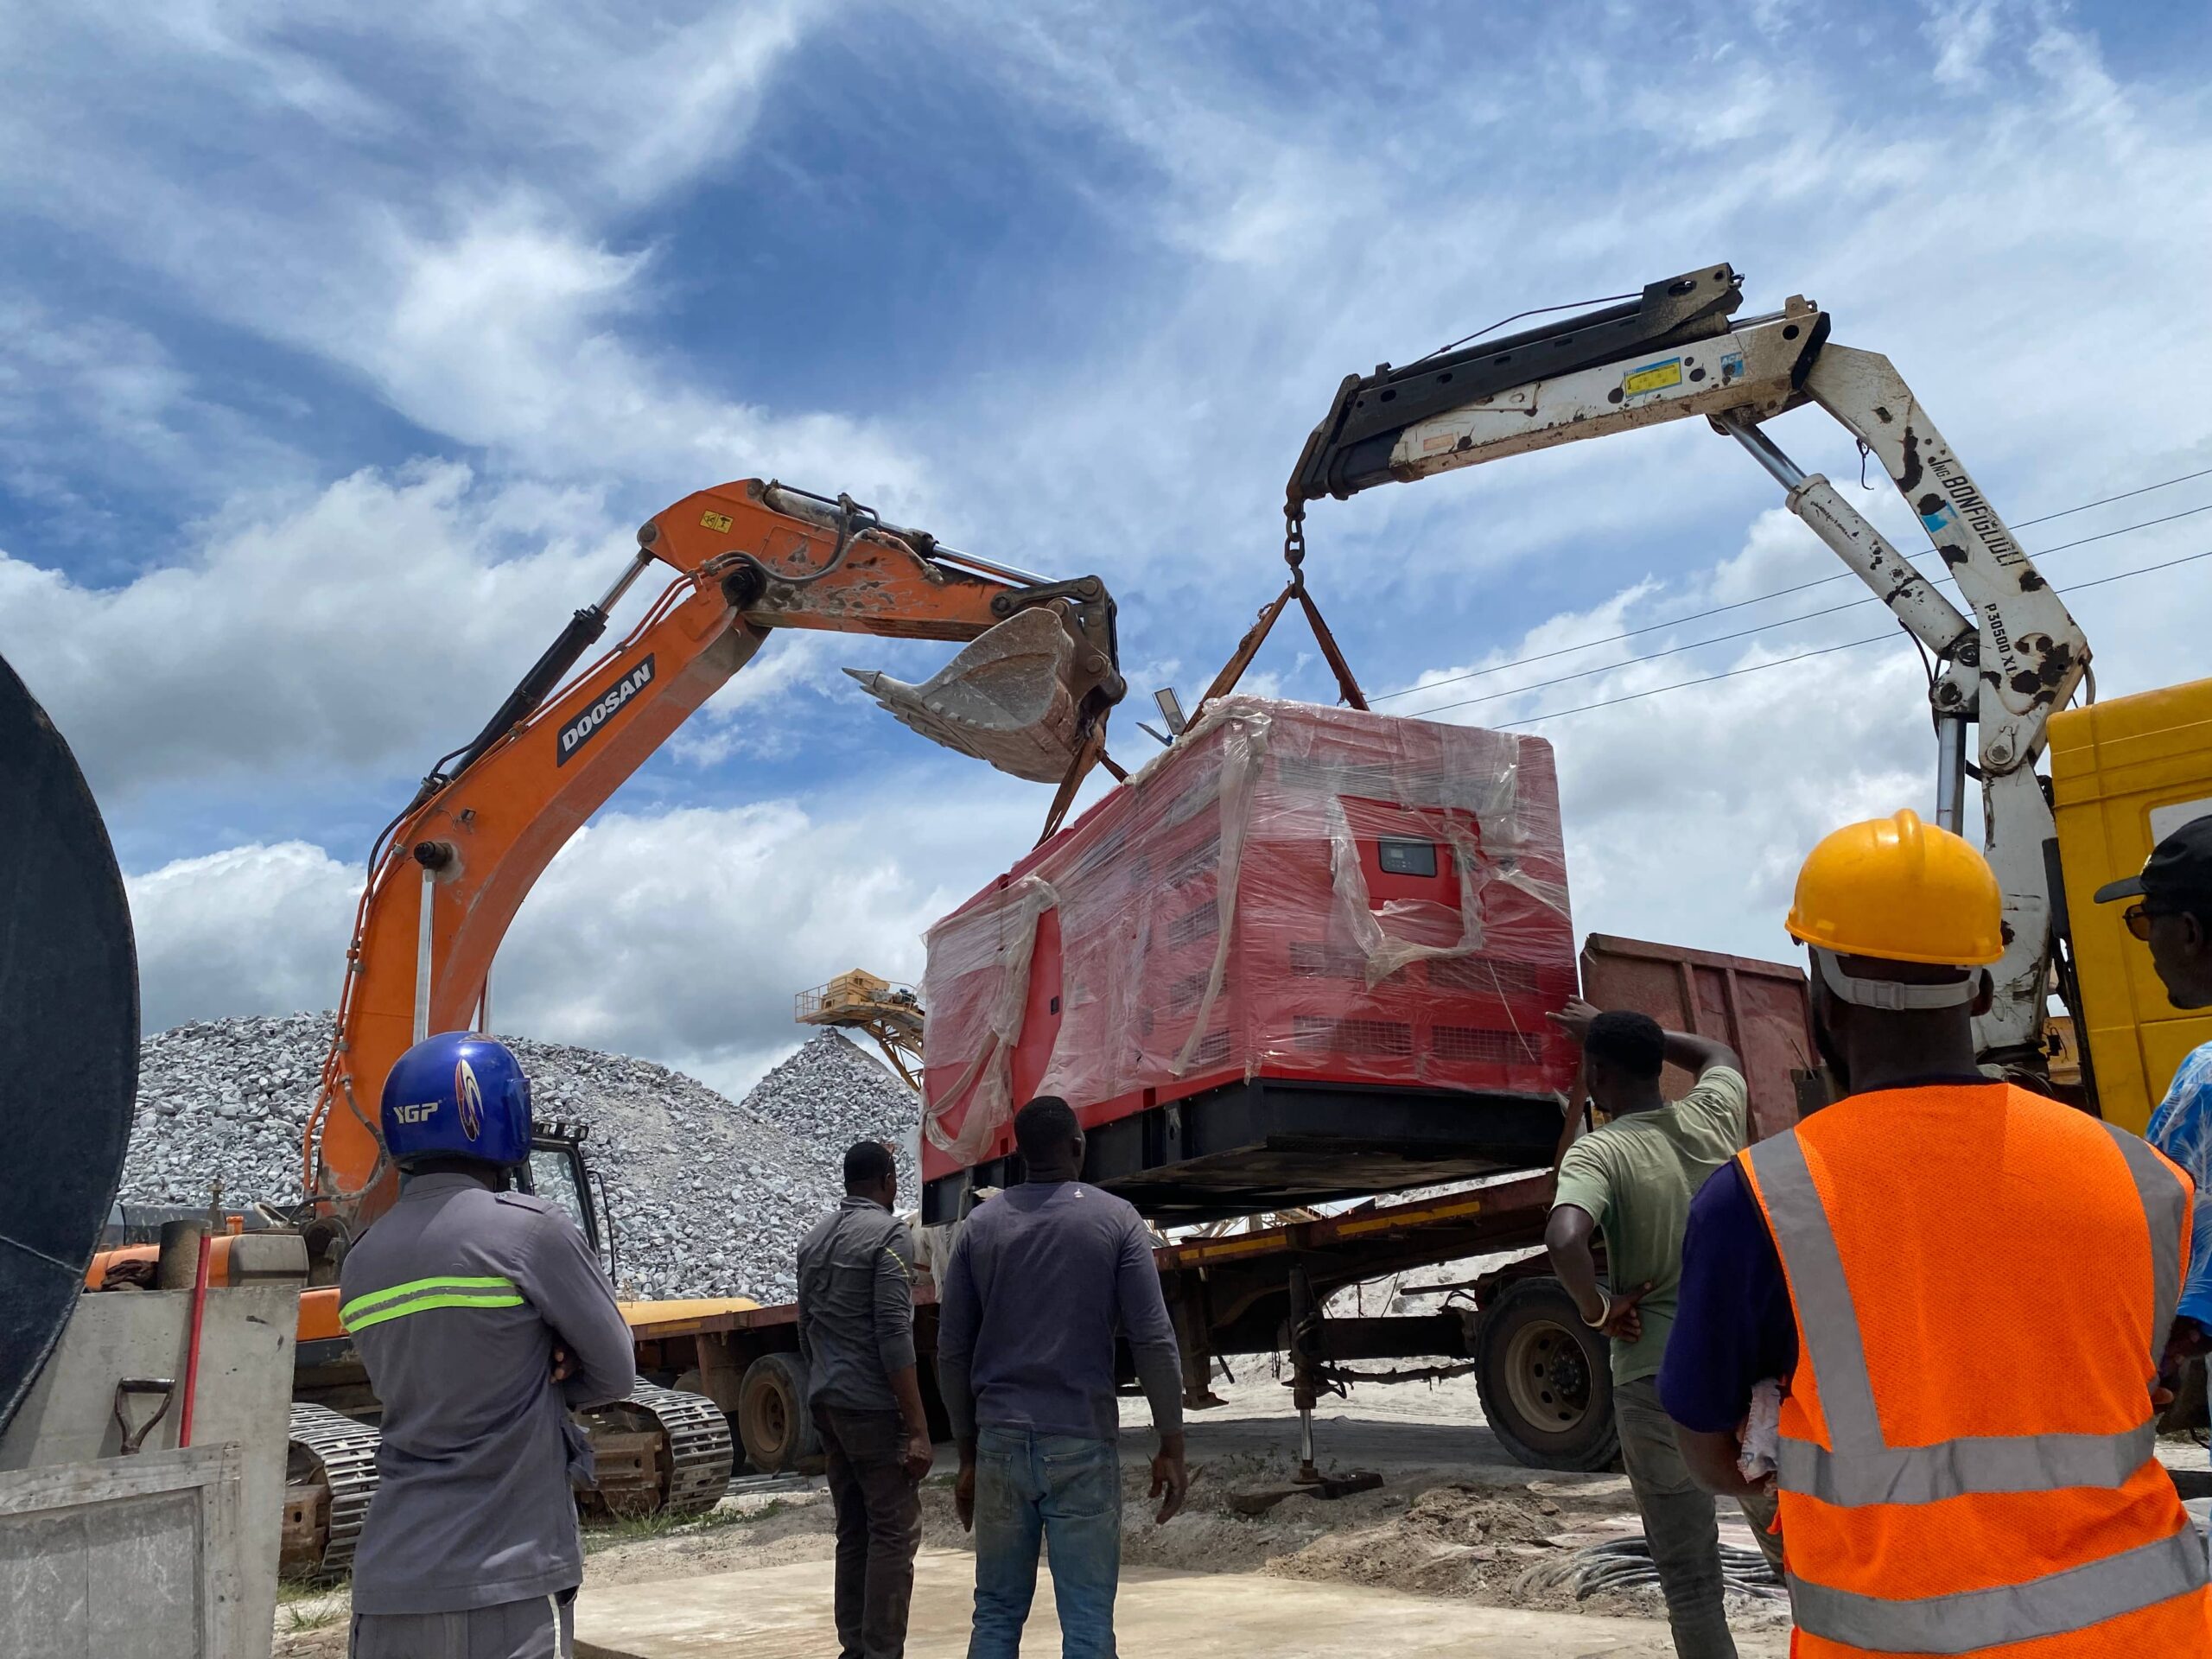
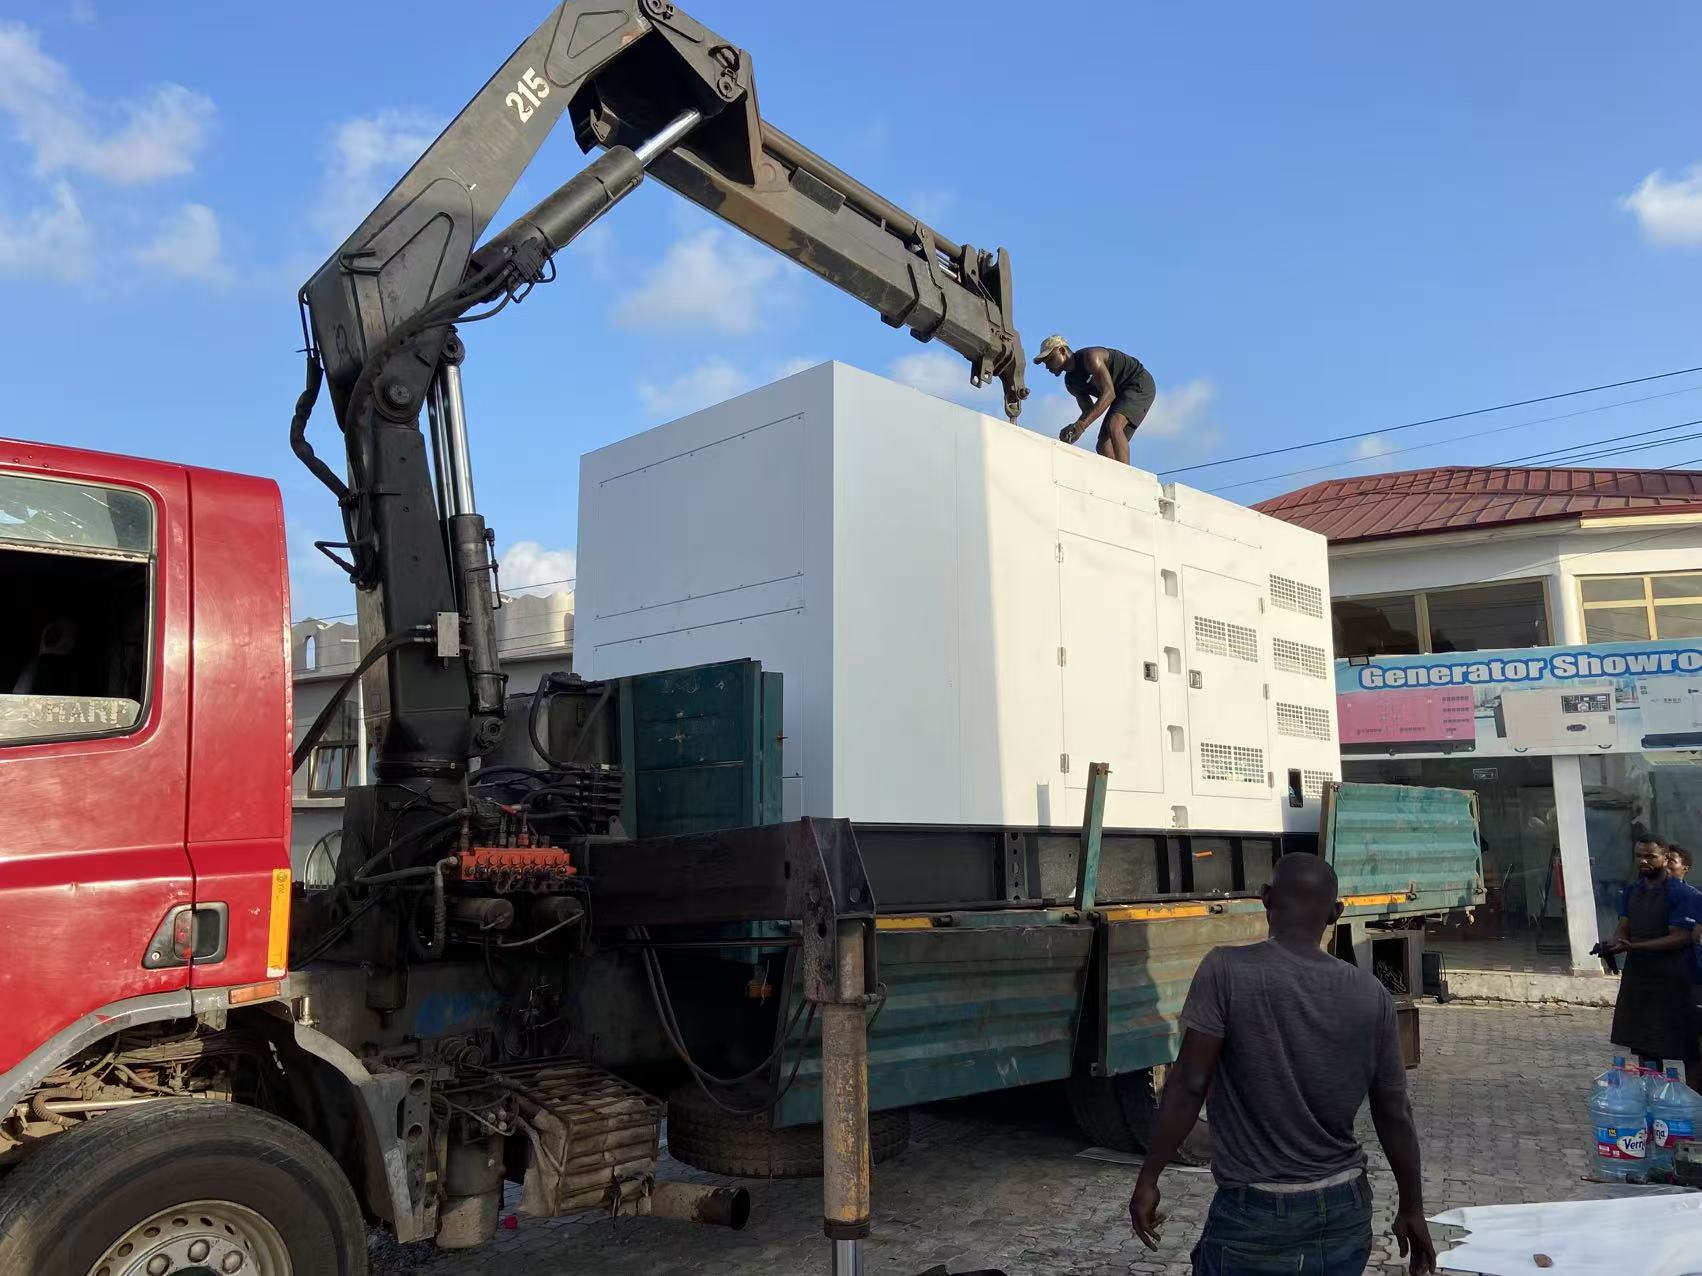
Check the Crane Access: if the generator needs to be lifted into the building, confirm that a suitable crane can safely reach the lifting point.
Doorway Dimensions: check the width and height of every entrance, door, and opening along the transport route.
Ceiling Height: make sure there’s enough vertical clearance to lift and position the generator.
Lifting Capacity: confirm that the crane or lifting equipment’s load capacity is sufficient for the generator’s actual operating or transport weight.
Generator Dimensions and Weight: use the equipment drawings provided by the manufacturer to verify the generator’s overall dimensions, weight, and center of gravity.
Turning Radius: check corridors, ramps, and corners to make sure the generator can move smoothly to its final installation position.
What to Do After It Arrives
Receive the Generator and Check for Damage
Once the generator arrives, first check it for any damage and confirm that the model matches what you ordered.
Review the Product Manual
Review the product manual provided by the manufacturer and follow the steps described in it for installation.
Installation Steps
Unloading
Move the generator as close as possible to where it will be used or its transport destination, placing it in a well-lit, open, and accessible area. Next, you’ll move the generator into the generator room
— there are two ways to do this: horizontal entry through a doorway, or lifting it in.
Horizontal Entry Through a Doorway: horizontal entry can be done with a forklift or with pipe rollers. If you use a forklift, position the forks under the generator’s support frame, making sure only the cross members rest on the forks, then carefully lift and move the unit into place at the unloading position. If you use pipe rollers, first jack up the generator and slide three pipes underneath the frame. Place the frame on top of the pipes, then push the whole assembly by hand. As you move it, you can reuse the pipes that come free from the back by sliding them under the front of the frame. Once the unit reaches its target position, set it down, then jack it up again and support it. Remove the pipes and install the full unit, confirm it’s positioned correctly, and then remove the jacks.
Lifting It In:if the generator room has a large opening at the top, you can use a mobile crane or crawler crane to lower the entire genset into the room from above, then use rollers, a hydraulic pallet jack, or similar equipment for final positioning.
Connecting the Fuel System
When connecting the fuel system, note that if your genset has a base-mounted fuel tank, you won’t need an additional tank. If your generator doesn’t have a base-mounted tank, you’ll need an external one — installing an external tank typically involves a fuel supply line, plus a fuel return line if required by the engine design. Fuel lines should be properly routed and supported, and connected according to the engine manufacturer’s requirements.
Installing the Exhaust System
The exhaust piping layout should comply with the engine manufacturer’s requirements. Pipe diameter, total length, number of elbows, and other restrictions all affect exhaust back pressure. Excessive back pressure can hurt engine performance and raise exhaust temperatures.
Ventilation and Cooling
When a diesel generator is installed inside a generator room, good ventilation is essential. For liquid-cooled generators with an engine-mounted radiator, the typical airflow path is: fresh air enters the room, passes over the generator and radiator, and exits outdoors through a hot-air outlet. The ventilation design should prevent hot air from the radiator recirculating back into the room — recirculated hot air raises the room temperature and reduces cooling system efficiency.
Connecting the Electrical System
Once the generator is in place and its mechanical systems are connected, you can wire it into your site’s electrical system. Depending on the system design, the generator’s output is usually connected through a circuit breaker to an automatic transfer switch (ATS), switchgear, or the main distribution panel.
Grounding
The generator’s frame and other necessary conductive parts should be properly grounded, connected according to the electrical design requirements and local codes.
Post-Installation Inspection
We’ve provided a checklist for you to reference:
| Generator Component | Why Check It |
| Engine | Maintenance |
| Alternator | Inspection/repair |
| Control Panel | Operation |
| Radiator side | Airflow |
| Exhaust | Exhaust equipment installation check |
A Few Extra Things to Watch For
Generator Safety
- Smoking near the generator can be deadly.
- Fuel leaks and flammable materials around the generator can both start a fire.
- Make sure a fire extinguisher is always accessible and keep up good fire safety practices.
Keep Up with Regular Maintenance
Once the generator is installed, you should start setting up a maintenance plan. We recommend putting together monthly, quarterly, semi-annual, and annual maintenance plans to extend the equipment’s service life. We recommend doing the following:
- Check the cooling system, air intake system, and air filter.
- Check the fuel system, exhaust system, and electrical system.
- Change the oil and all filters annually.
- Test the generator’s various parameters, such as frequency and voltage.
Final Thoughts
In short, generator installation requires careful planning beforehand, following the manufacturer’s recommendations during installation, and thorough inspection and maintenance afterward. If you still have any questions about installation, feel free to contact UsuperPower anytime — we’ll help you find the installation solution that best fits your site.
FAQ
Why do medium and large diesel generators usually need a concrete foundation?
Medium and large diesel generators are heavy and produce vibration during operation, so they need to be installed on a solid, level concrete foundation. A concrete foundation provides stable support, reduces movement and vibration while the genset is running, and keeps it operating steadily.
How much space should I leave around the generator?
The installation space shouldn’t be based only on the genset’s own dimensions — you also need to leave enough room for ventilation, exhaust, wiring, inspection, and routine maintenance.
What cable specifications does a diesel generator need?
The cable specification for a diesel generator mainly depends on the genset’s rated power, output voltage, number of phases, current, cable length, and installation method — it can’t be determined simply from the generator’s kVA rating alone.
How long does it take to install a diesel generator?
Installation time depends on the size of the generator you purchased, site conditions, whether the foundation is solid, the fuel supply, the electrical system, the exhaust system, and more — so it’s a good idea to prepare everything in advance to get it done faster.
Can the generator manufacturer provide installation drawings?
Yes, we provide installation drawings matching the model you purchased.